


How to Change a Motorcycle Tire: Step-by-Step Guide
Changing a motorcycle tire is a valuable skill that can save you time and money, as well as keep you riding safely. Whether you're at home, on a road trip, or at the track, knowing how to replace a tire is essential for any rider.
The process involves several steps, which, if followed correctly, can be completed efficiently with minimal tools.
You'll need to start by gathering the necessary tools. These typically include tire irons, a bead breaker or C-clamps, a valve core tool, a compressed air source, and lubricants like Windex or silicone spray.
It's important to have a clean, flat workspace and if possible, a motorcycle stand or lift to securely hold your bike during the tire change.
Keep in mind that the procedure differs slightly between tubed and tubeless tires, with tubeless tires requiring a bead breaker to free the tire from the rim.
Safety is paramount; ensure the motorcycle is stable before starting and be cautious when working with tire tools to avoid injury.
With preparation and careful execution, you will be able to replace your motorcycle tire and get back on the road with confidence.
Preparing the Motorcycle

Before attempting to change a motorcycle tire, it's crucial to ensure that the motorcycle is stable and that you have all the necessary tools at hand.
Preparing your workstation will simplify the process and help prevent any damage to the motorcycle.
Stabilize the Bike
First, secure your motorcycle to prevent it from moving.
If your motorcycle has a center stand, use it to lift the relevant wheel off the ground. If a center stand is not available, consider alternative methods such as motorcycle jacks, wheelstands, or even ratchet straps if you have overhead rafters.
Ensuring that the motorcycle is stable and lifted properly will provide you with the necessary workspace to remove the wheel safely.
Gather Necessary Tools
Having the correct tools within reach is essential. You will need:
- Tire irons or tire levers
- A valve core tool for removing the valve stem
- A bead breaker tool to separate the tire from the rim; C-clamps can be a makeshift solution
- Lubricants, such as a spray-on silicone or Windex, to help ease the tire off the rim
- A compressed air pump for inflating the tire once it is mounted
- Optional: rim protectors to guard the rim from scratches
Compile these items before you start to avoid any interruptions once you begin the process.
Wheel Removal Preparation
Ensure that the motorcycle is positioned in such a way that you can access the axle nuts or bolts that hold the wheel in place.
Familiarize yourself with the steps to safely remove these connections, which can vary based on the motorcycle model.
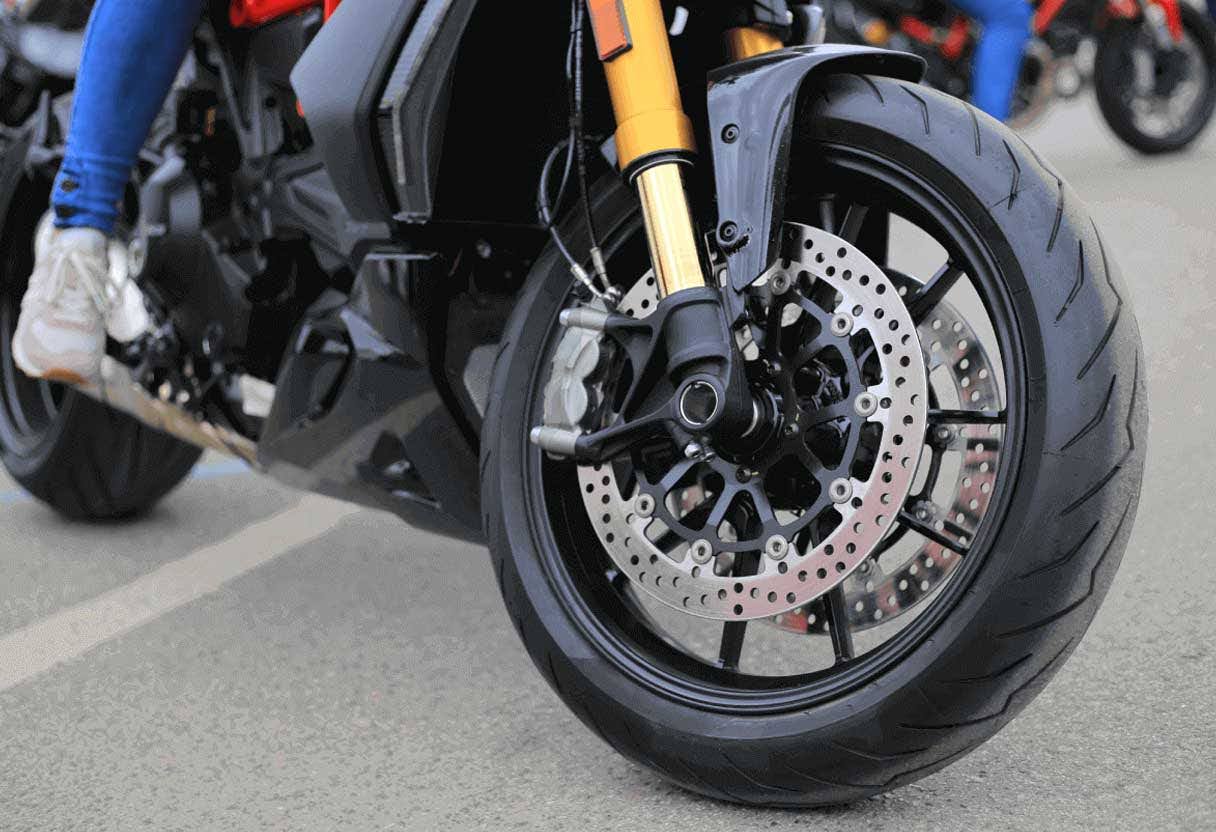
For bikes equipped with a disc brake, take extra caution not to damage the disc when removing the wheel.
Before lifting the wheel off, also keep track of any spacers or washers around the axle that will need to be replaced in the correct order during reassembly.
Removing the Wheel

Before you begin with the removal of the motorcycle wheel, ensure your bike is securely supported on a stand or lift, with the wheel to be removed off the ground. This will provide stability and ease of access for the task at hand.
Loosen Axle Nut
First, you'll need to loosen the axle nut of the wheel that you are planning to remove.
Depending on your motorcycle, you will require an appropriate socket or wrench. Turn the nut counterclockwise, but do not remove it completely at this stage.
- Position your tools correctly to avoid slipping.
- Apply steady pressure to avoid injury or damage to the bike.
Detach the Wheel
To detach the wheel from the motorcycle:
-
Remove any brake calipers or speed sensors carefully and secure them aside, making sure they do not dangle or pull on any attached lines or cables.
- Note: Do not depress the brake lever while the caliper is removed.
-
Fully unscrew the axle nut and carefully slide out the axle shaft.
Pay careful attention to the arrangement and location of any spacers, washers, or bearings, as they will need to be replaced in the same order upon reassembly.
- Keep the components organized.
- Use a gentle rocking motion to ease the wheel away from its mount.
-
Lift and remove the wheel away from its housing. It's paramount to handle the wheel with care to avoid any unintended damage.
- If the tire is in the front, ensure the bike's weight is supported at the front to allow for the wheel’s removal.
- For rear tires, adjust or remove the chain or belt tension as necessary for clearance.
Changing the Tire

Changing a motorcycle tire is a straightforward process if you have the right tools and follow proper procedures. In this section, you'll learn how to remove the old tire, mount the new one, and ensure it's correctly inflated.
Remove Old Tire
First, secure your motorcycle so it won't move while you're working.
Remove the wheel from your bike according to the manufacturer's instructions.
With your wheel on a stable surface, release the air from the tire by removing the valve core.
Proceed to break the bead, the seal between the tire and the rim. You can use bead breaker tools or C-clamps for this purpose.
Once the bead is broken, lever off the tire from the rim using tire irons, taking care not to damage the wheel.
Mount New Tire
Before mounting, ensure the new tire's directional arrows match the wheel's direction of rotation.
Lubricate the tire's bead with a spray-on silicone lubricant or Windex to facilitate easier installation.
Start by mounting one side of the tire onto the rim, then insert the inner tube, positioning the valve through the rim's valve hole.
Finally, use tire irons to work the other bead over the rim gradually.
Inflate and Seat the Bead
After the tire is on the rim, reinstall the valve core and inflate the tire slowly.
You'll need to ensure the tire beads are properly seated against the rim. You should hear a popping sound as the bead fits into place.
Adjust the tire pressure to your bike manufacturer's recommended settings.
It's crucial to inflate the tire correctly to avoid any riding imbalances.
Reinstalling the Wheel
After successfully mounting your new tire onto the rim, it's time to focus on getting the wheel reinstalled onto your motorcycle. This is a critical step that requires attention to detail to ensure a safe and proper setup.
Align and Insert Wheel
Before you insert the wheel back onto the motorcycle, ensure that the spacers are properly placed; these fit between the wheel bearings and the fork or swingarm.
Carefully align the wheel with the swingarm or forks, ensuring that the brake disc slips between the brake pads smoothly.
Carefully guide the wheel into position, being mindful not to dislodge or damage the spacers or brake pads.
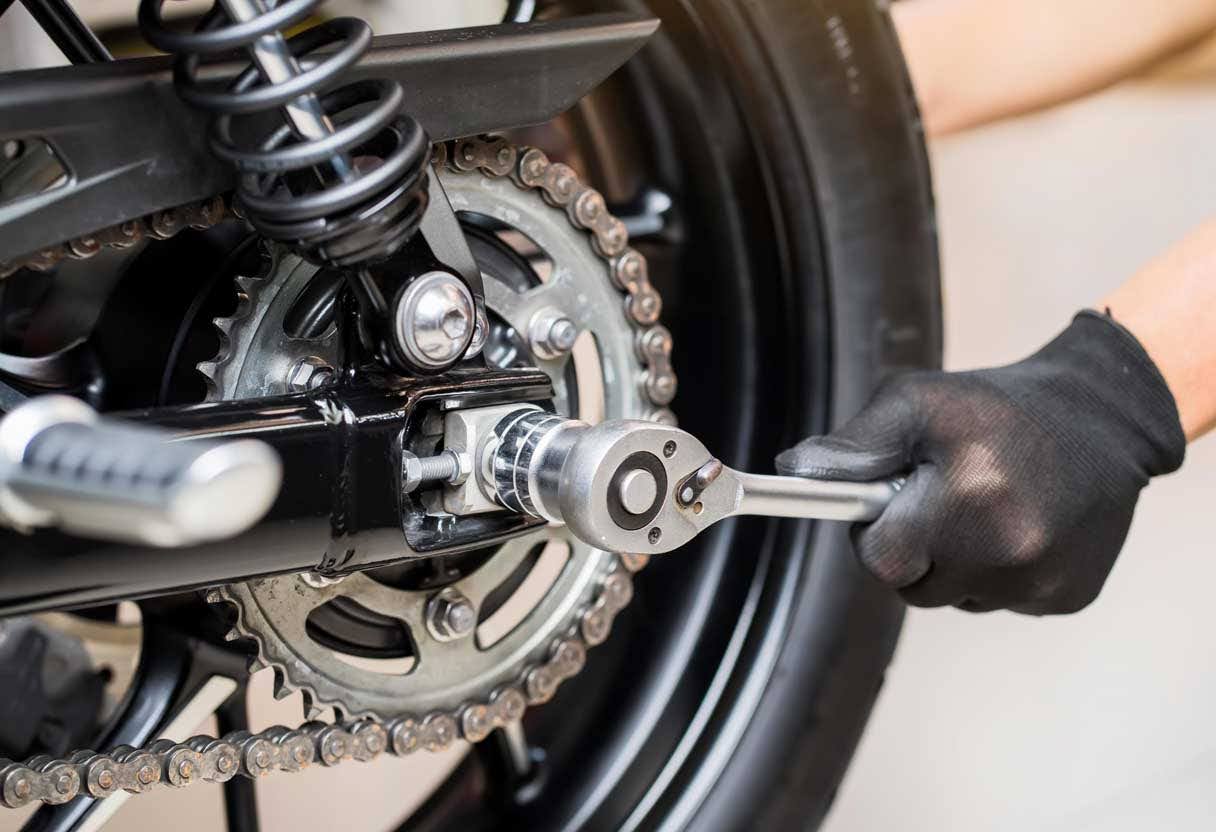
Tighten Axle Nut
Once the wheel is in place, slide the axle through, and gently start the axle nut by hand to avoid cross-threading.
Check the alignment once more before proceeding to tighten the axle nut to the manufacturer's recommended torque setting using a torque wrench.
It's crucial to achieve the correct torque specification for safety and performance.
Safety Check and Cleanup
Before you take your motorcycle out for a spin, perform a thorough safety check:
- Ensure the tire is properly inflated to the recommended pressure.
- Inspect the wheel by spinning it to check for any unusual noise, which could indicate that something is not fitted correctly.
- Verify that all nuts and bolts are tightened to specification.
- Lastly, give your work area a quick cleanup: check for any tools or parts left in or around the motorcycle to prevent potential hazards.
- Choosing a selection results in a full page refresh.